The Schema App AEM Connector can be installed as a dependency in Maven.
Note: Currently, the AEM Integration option is only available to Enterprise Customers who have paid for AEM Configuration Services
TABLE OF CONTENTS
- Download the latest version of the Schema App Connector on Maven
- Modifying POM Files to Install the Connector
- How to Set Up the Schema App Connector on AEM
Download the latest version of the Schema App Connector on Maven
You can find all versions of the Schema App Connector on Maven here. We always recommend installing the latest version.
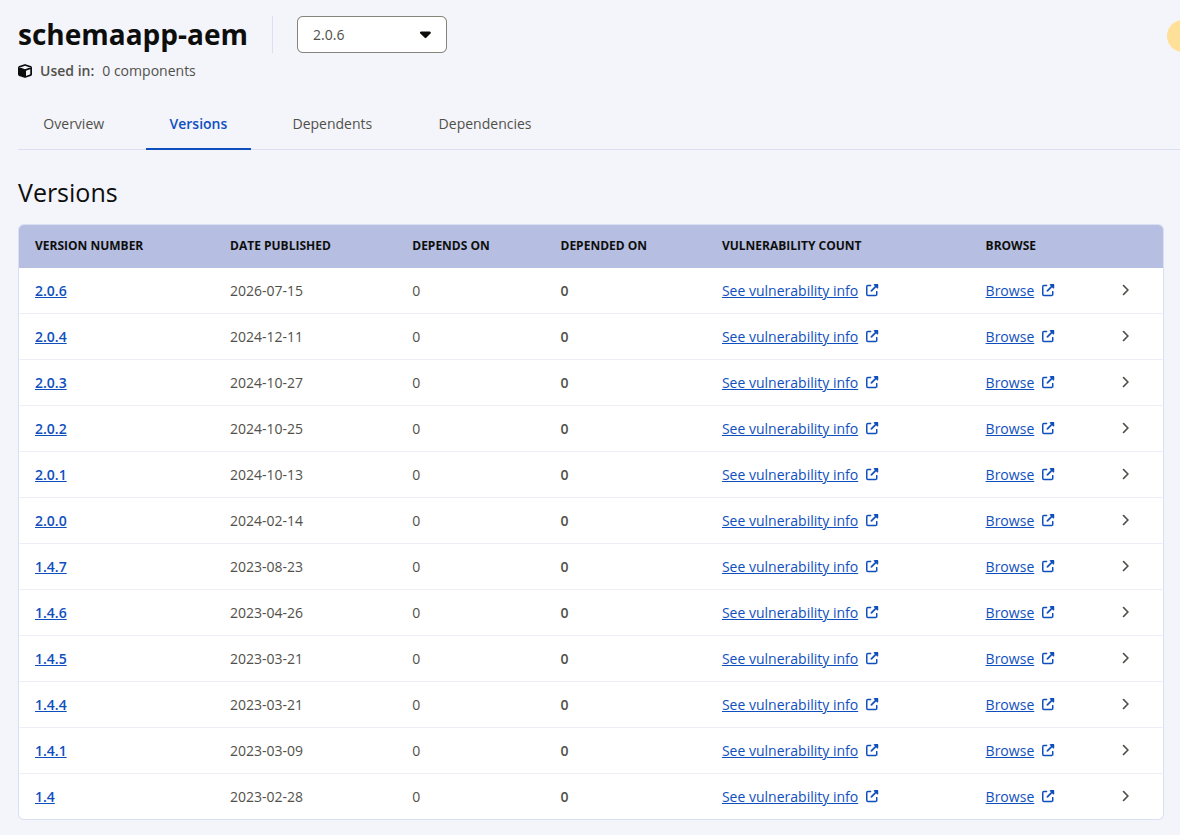
We recently released version 2.0 of the Schema App Connector for AEM, as shown in the screenshot above. This is the version you would replace [version_number] with when adding the dependency.
Modifying POM Files to Install the Connector
To install the Connector, you will need to modify three pom.xml files and the filter.xml file. This will install the core and UI of the Connector on your AEM system and enable our scheduler to update your markup.
When installing the Connector, ensure the file type is a zip file and NOT a pom file. Only zip installations are supported.
1. Within all/pom.xml
Under the <build>/<plugins>/<plugin> section, add the following.
If the “org.apache.jackrabbit” plugin is already added to your pom, you can simply copy and paste the embedded section from the snippet below. Be sure to adjust the target based on your application and note this target for future steps.
<build>
    <plugins>
        <plugin>
            <groupId>org.apache.jackrabbit</groupId>
            <artifactId>filevault-package-maven-plugin</artifactId>
            <extensions>true</extensions>
            <configuration>
                <embedded>
                    <groupId>com.schemaapp</groupId>
                    <artifactId>schemaapp.all</artifactId>
                    <type>zip</type>
                    <filter>true</filter>
                    <!-- Adjust this target based on your application and save this value -->
                    <target>/apps/schemaappsite-connector/application/install</target>
                </embedded>
            </configuration>
        </plugin>
    </plugins>
</build>
Within the dependencies section of the all/pom.xml add the following:
<dependency>
  <groupId>com.schemaapp</groupId>
  <artifactId>schemaapp.all</artifactId>
  <type>zip</type>
</dependency>
2. Modify the filter.xml file.
In the <Project directory>/all/src/main/content/META-INF/vault/filter.xml file, add a new filter root.
- Open the filter.xml file.
- Add new line using the target path set in the first step: <filter root="<replace it with your target path>"/>

3. Changes in ui.apps/pom.xml
Add the following to the <dependencies> section:
<dependency>
    <groupId>com.schemaapp</groupId>
    <artifactId>schemaapp.all</artifactId>
    <type>zip</type>
</dependency>
4. With the base level pom.xml

Add the following under the dependencies section:
<dependency>
   <groupId>com.schemaapp</groupId>
   <artifactId>schemaapp.all</artifactId>
   <version>[version_number]</version>
   <type>zip</type>
</dependency>
The Schema App team releases new features and bug fixes for the Connector regularly, so be sure to keep an eye out for any communications from our team to keep your Connector up to date.
How to Set Up the Schema App Connector on AEM
Step 1: Select Your Deployment Type in Schema App
Note: A project on Schema App consists of a group of URLs. Every site on AEM should have a configuration that is linked to a project on Schema App (i.e. one configuration for every AEM site).
- Login to Schema App, select the appropriate project and click the dropdown to access the settings.
- Click "Add Website" and enter the base URL / Domain of your AEM website.
- Under Deployment Settings, select Adobe Experience Manager.
- In the Deployment Settings dropdown, copy the API Key and Account ID to your clipboard. You will need this information for registration on AEM.

Step 2: Set up the Schema App Connector Configuration on AEM
- Log in to Adobe Experience Manager.
- Click on ‘Tools’ in the right menu bar.

- Select the 'Cloud Services' and then select the "Schema App Connector" tile.
- Click on the ‘Create’ button on the top right.
- In the dialog box, enter your Account ID, API key and website URL (publisher), and select your deployment method of choice (JavaScript or Crawler). The deployment method you choose here should match your Highlighter deployment in Schema App.
When you're done entering the information, click 'Connect to Schema App' to register the site. - If you've done everything accordingly, you should see a message indicating that your site has been registered with Schema App. From there, click 'Save' in the top right corner of the page.
- Your new configuration will now be listed on the left menu bar of the screen.


Now that you've set up the Schema App configuration on AEM, the next step would be to apply it to the required pages on your AEM site.
Step 3: Apply Schema App Configuration to your pages
- Go to your AEM home page.
- Click on ‘Sites’.
- Select the site that you want the configuration earlier created to apply to.
- On the top menu bar, click ‘Properties’.

- Click on the ‘Cloud Services’ tab.
- Select the appropriate configuration created earlier in the drop-down menu.

- Click Save and Close.


Was this article helpful?
That’s Great!
Thank you for your feedback
Sorry! We couldn't be helpful
Thank you for your feedback
Feedback sent
We appreciate your effort and will try to fix the article